
Intro #
I’ve been a big fan of Perixx vertical mice and have been using them daily for my work and personal computers for the past 4+ years. Recently one of my scroll wheels began acting up where it would stutter in the opposite direction I was scrolling. This made it difficult to scroll to the very top or bottom of windows since it would often end up just shy of the top/bottom.
I decided to take apart my Perixx Perimice-513 vertical mouse (right handed) and explore.
Tear down: #
If you are within the limited warranty period, then disassembling the mouse will potentially void the warranty.
Originally, I tried prying the base apart with a thin screwdriver and ended up damaging the housing and some components. Do not do this! Instead here’s what I learned was the proper way to do it:
-
When looking at the mouse upside down, remove the top left and the two bottom mouse feet. Underneath the mouse feet pads you will find three screws to remove.
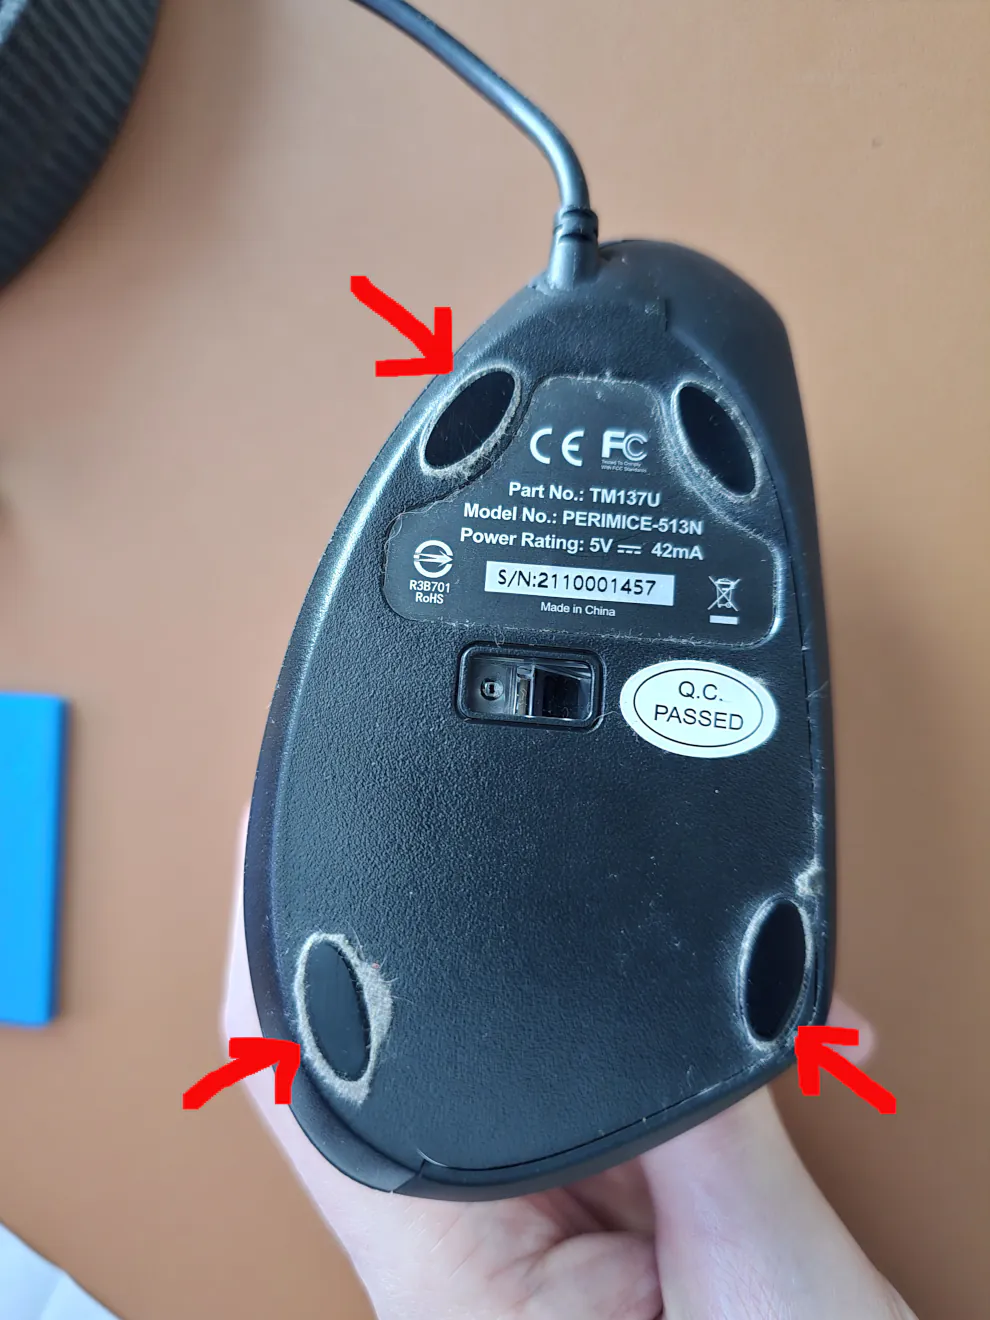
Bottom of Mouse: feet/screws to remove -
Remove the two mouse buttons. They will be able to peel up from the front edge and then just continue to lift them up from the bottom until they pop out.
-
Looking at where the mouse buttons used to be, you will see three screws to remove.
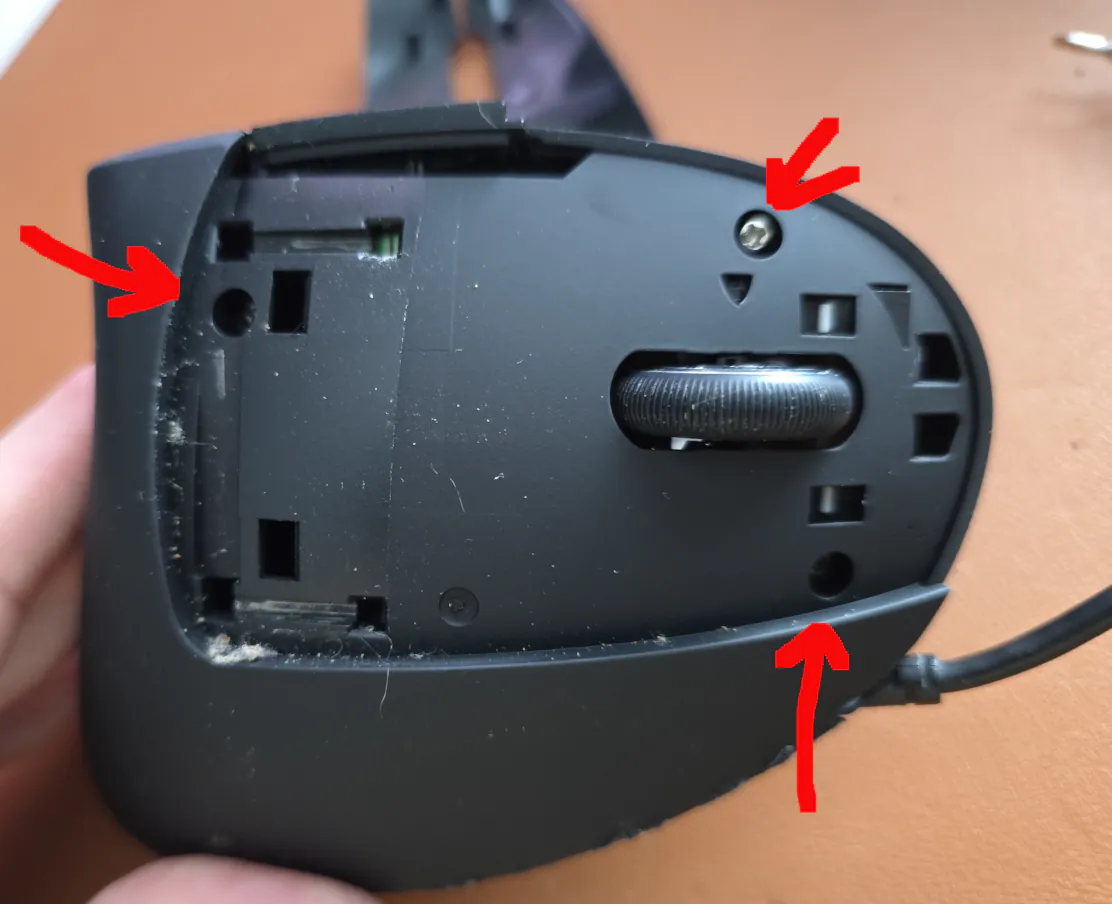
Top of mouse: screws to remove -
With the total six screws removed, you should now be able to separate the three sides (bottom, top left and top right). If needed, it is okay to gently use a thin screw driver here to begin separating the sides, but be careful not to insert it too far or force it too much to avoid damaging the housing or components. The pieces should just pop apart. On the bottom where the top right mouse foot is, there is not a screw but instead a little plastic latch you may need to push on to help separate the pieces.
-
With the pieces separated, you will now be able to see the mouse printed circuit board (PCB) with two screws. To access the mouse scroll wheel, remove these two screws. There is also a black notch that the PCB snaps into, so you will need to wedge the board out.
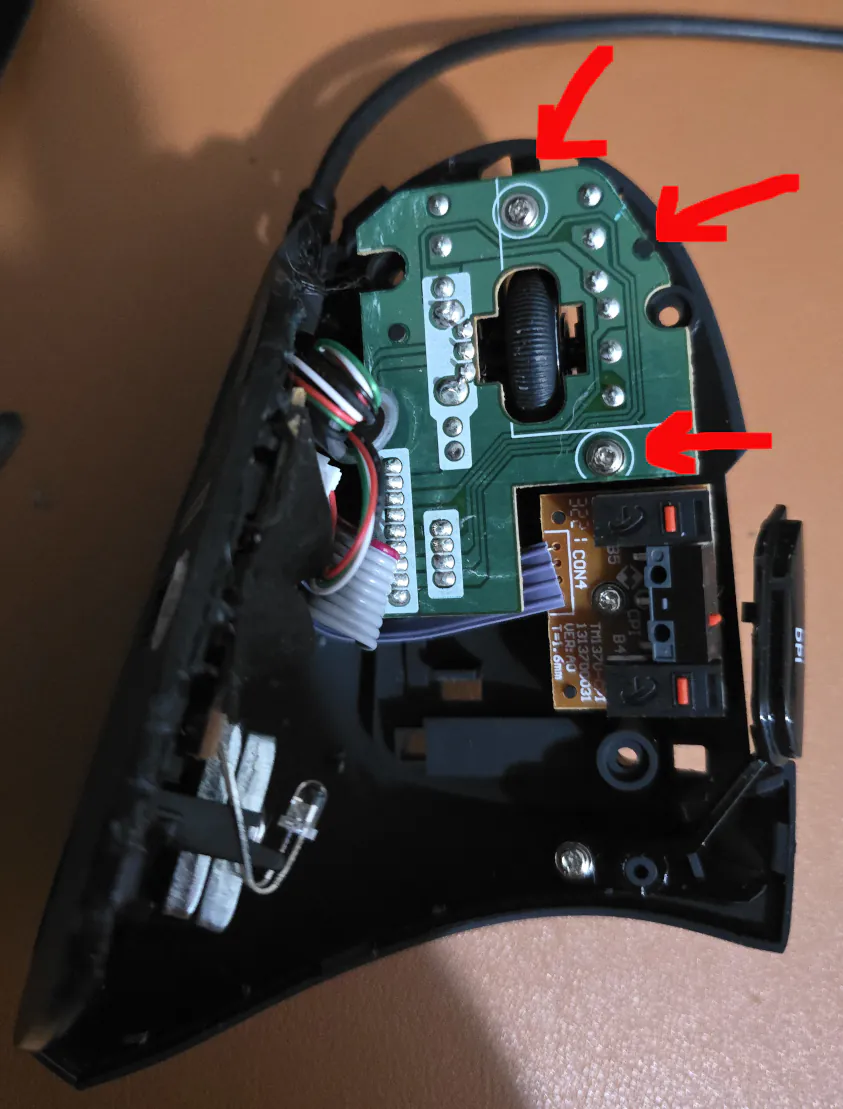
Inside: Screws to remove and notch holding PCB in place. -
Once the PCB board is free, the mousewheel will be able to be pulled out. In my case I found a mass of dust tightly compacted around the wheel’s spindle where it seated into the encoder that translates the scrolling direction and speed. It was no surprise why my mouse wheel had been struggling! Clean this off with a cloth, and if the encoder (blue component) needs to be cleaned then you could try some compressed air.
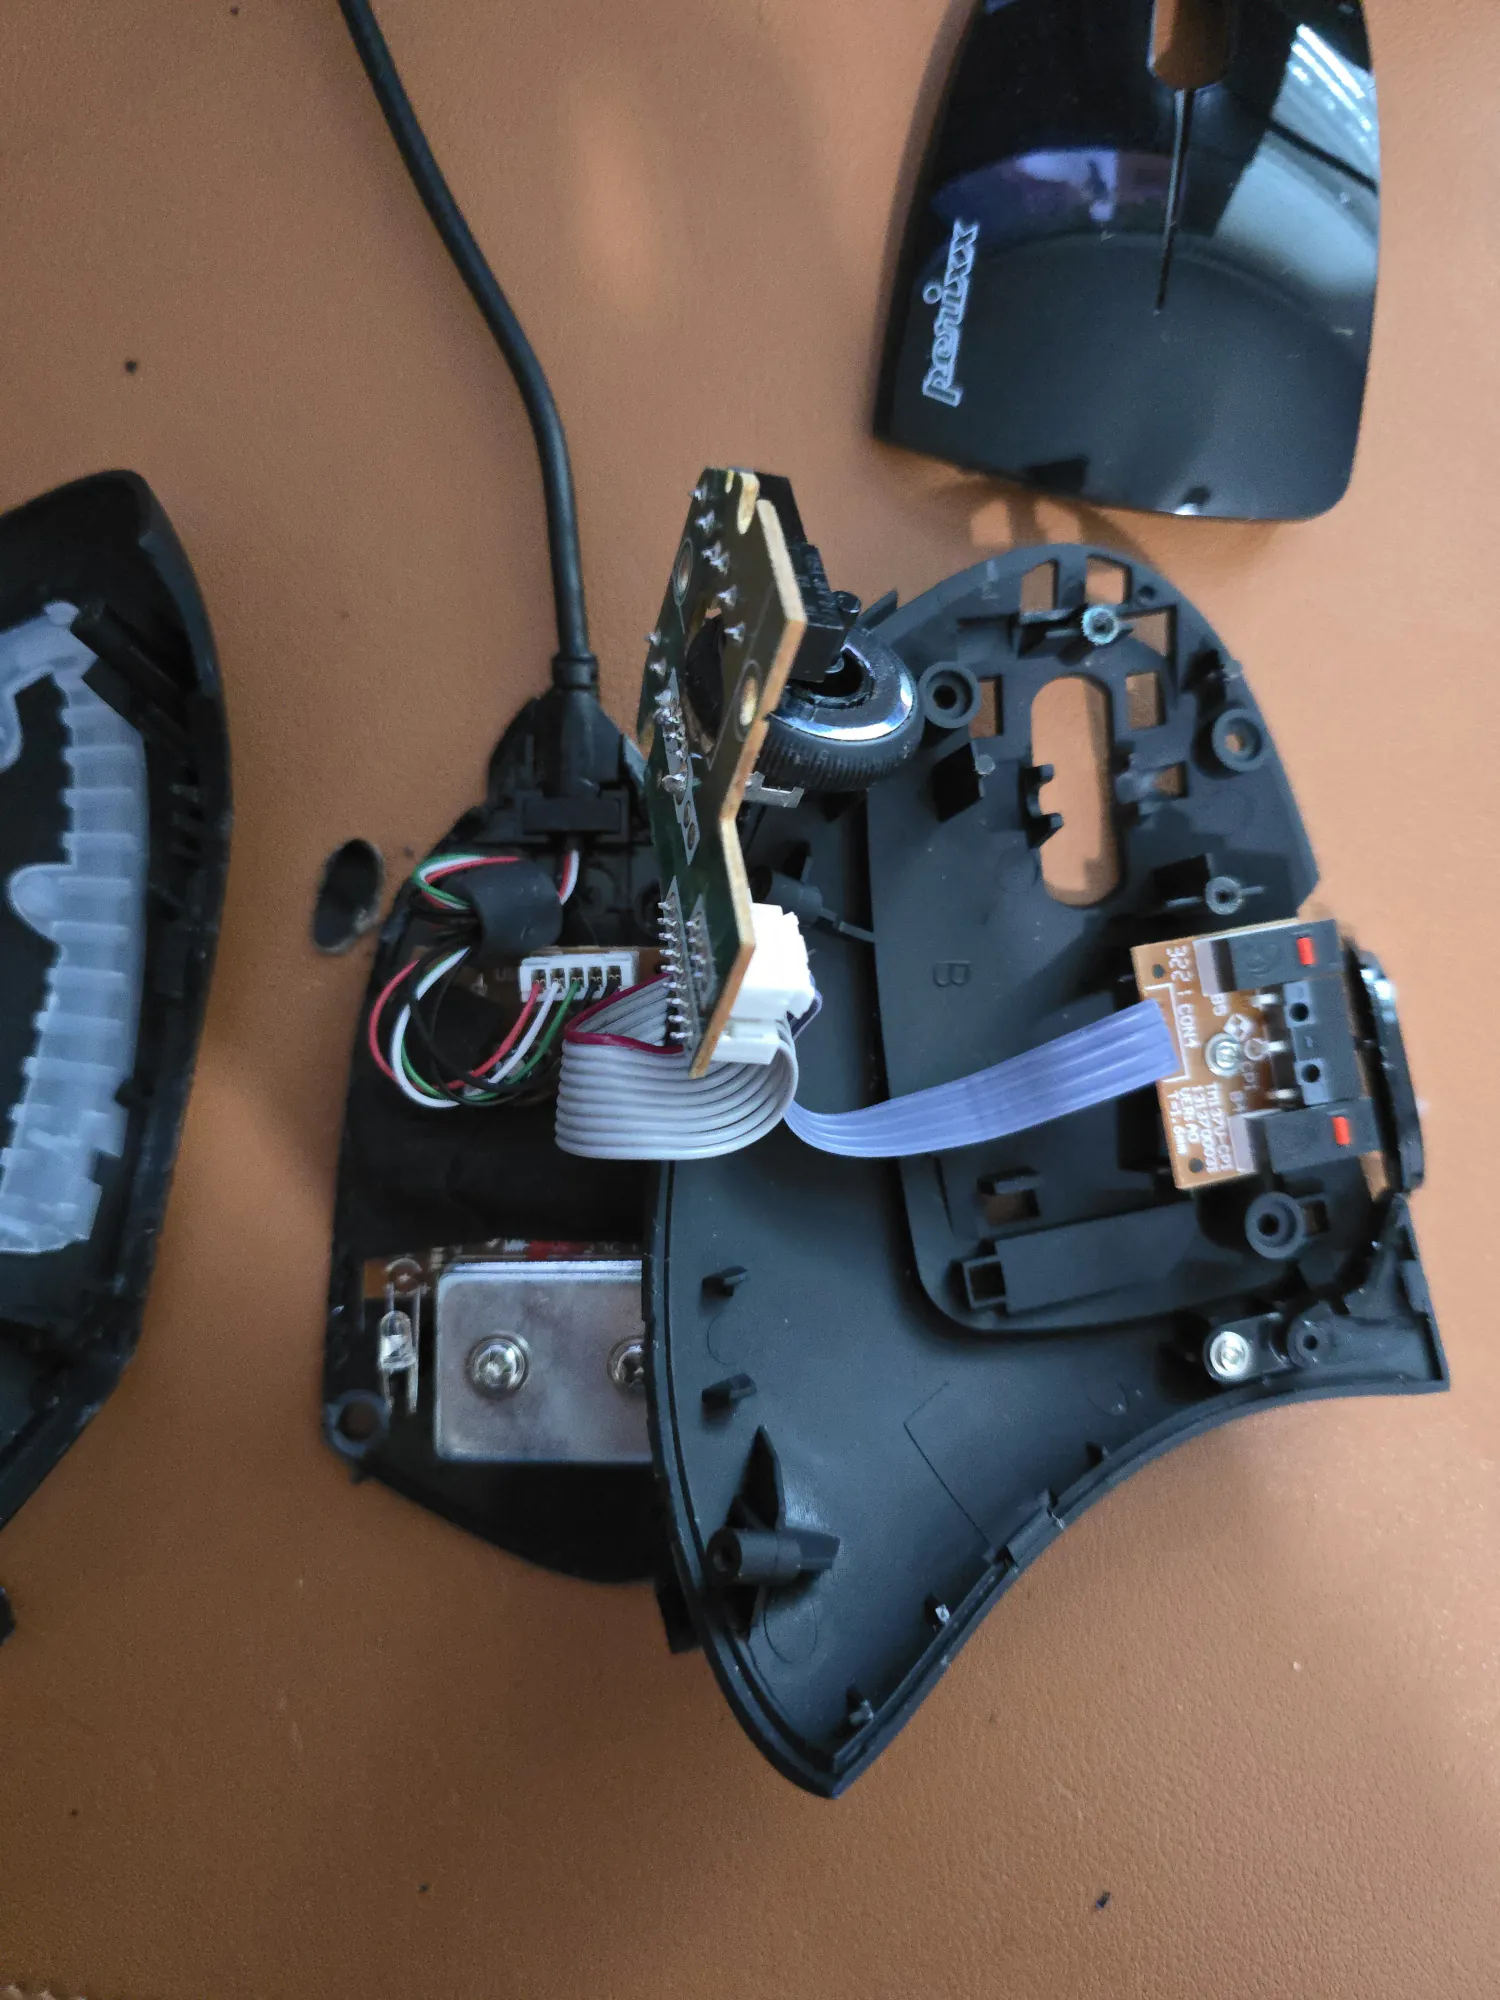
PCB separated 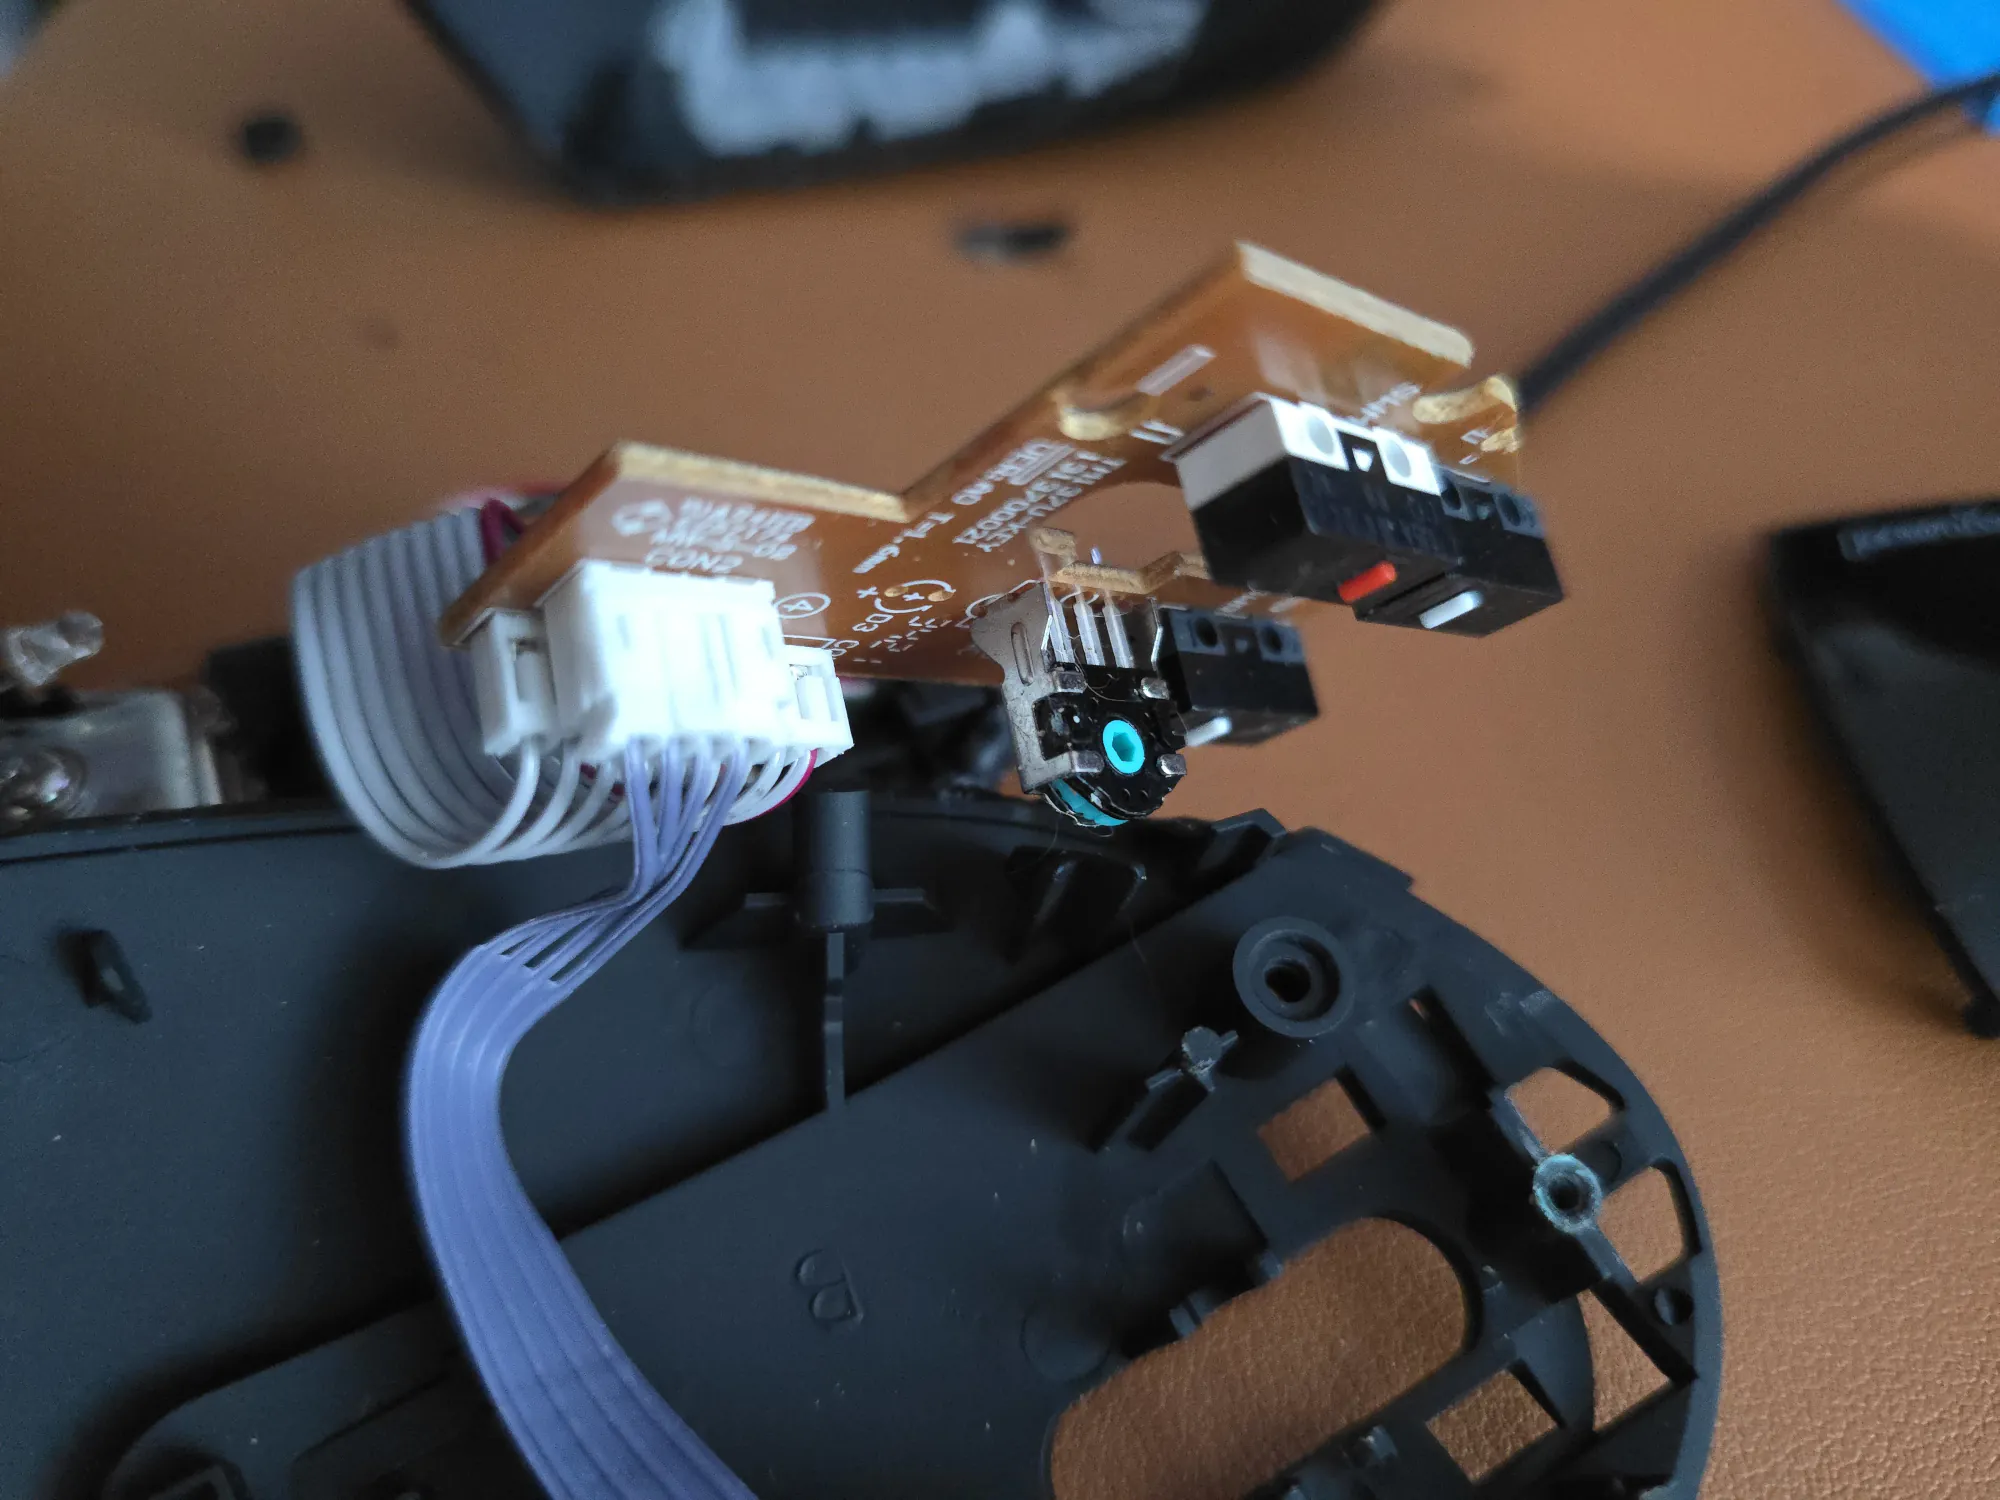
Underside of PCB. The blue component is the scroll wheel encoder which the scroll wheel is inserted into to track scrolling. 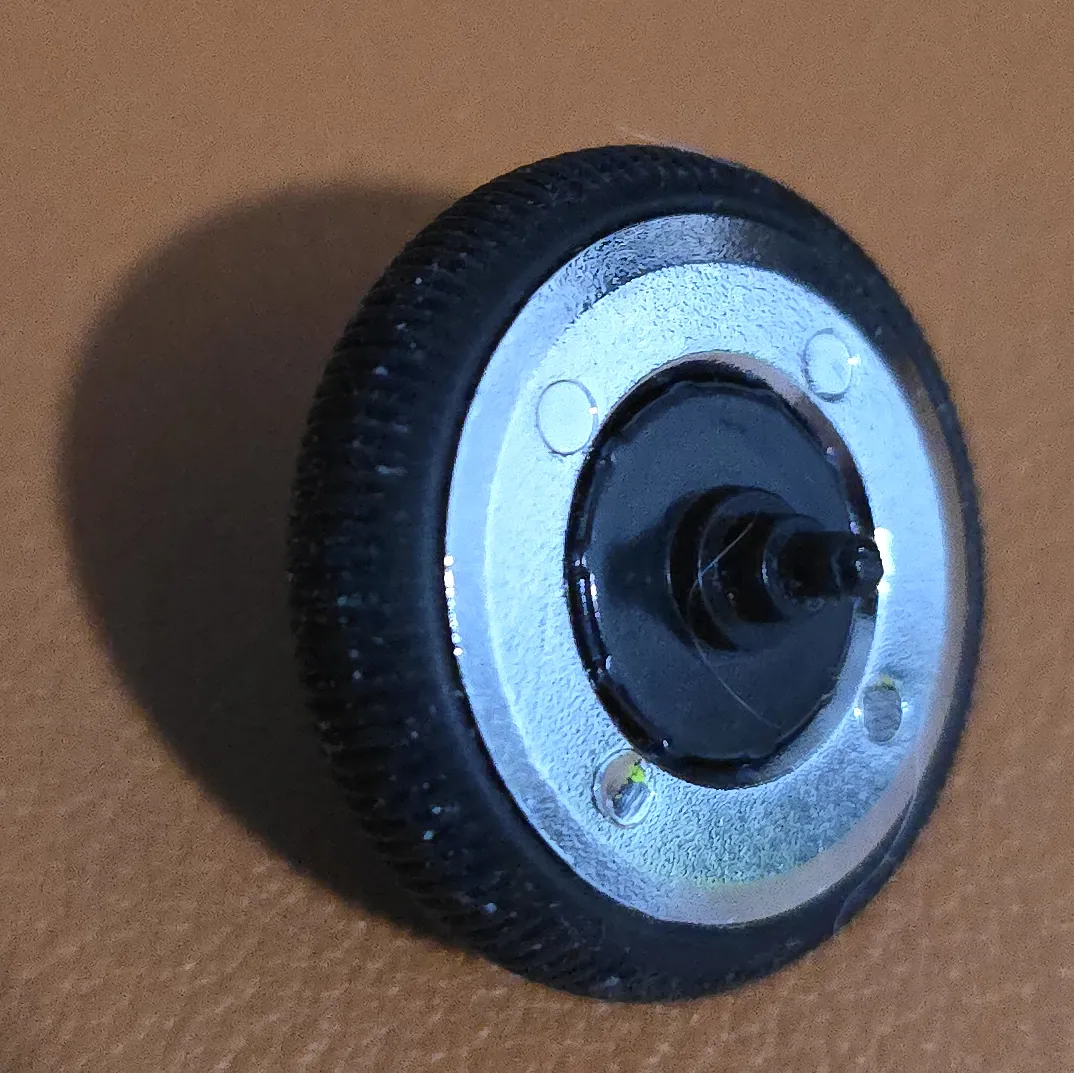
The mouse wheel (I forgot to take picture before removing the mass of dust that had been collected) -
After cleaning the mouse wheel’s spindle, insert it into the blue scroll wheel encoder and reattach the PCB to the mouse frame using the two screws from step #5. The mouse wheel may want to pop back out of the encoder so hold it in place as you are seating the PCB.
-
Plug the mouse in and test the scroll wheel at this point to ensure it is working before fully re-assembling.
-
Reassemble the three pieces of the mouse frame and insert the six screws previously removed. Snap the mouse button plate back into place.
Conclusion #
You should have your mouse reassembled with new life in its scroll wheel! In my case a simple cleaning was all that was needed to be able to scroll to the top and bottom of windows again.